Azure Functions with PowerShell
Azure Functions are so-called serverless applications you can build in the web as backends for your mobile, web or on-premises applications. A very good use of functions are as web service wrappers, for example for other APIs so that you can safely store developer credentials and secrets in your own service outside of the client or application you deploy to users. In this case we’ll create a simple function that wraps an arbitrary API where the API key is stored in a separate Azure Key Vault.
When this post was written Azure Functions built with PowerShell were in preview and has since become a live service, so some details in this post may have changed although the core is still the same.
If you want to follow along you’ll need (or want) a few things:
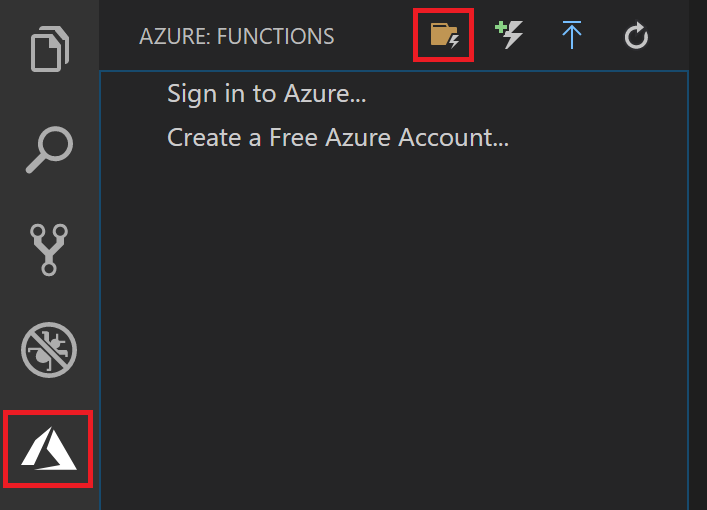
First of all we need a local project for our function, we can easily create this using our new extension.
We’ll be guided through a few options to create our functions. We want to choose PowerShell as our language, HTTP trigger as our function and Function as our authorization level so that not just anyone can spend your sweet Azure credits.
That’s enough to get started! While it may not be very interesting, you can run the function using F5 immediately and check out the result. If everything works as intended you should have an URL that you can open in a browser while the function is running locally. You can visit the URL and attach ?name=YourName to get a response from the example function.

The superior way is of course to send a request to the endpoint using PowerShell, either through a GET or a POST where we can send a convenient hashtable that we convert to JSON.
PipeHow:\Blog> Invoke-RestMethod 'http://localhost:7071/api/HttpTrigger?name=GET'
Hello GET
PipeHow:\Blog> Invoke-RestMethod 'http://localhost:7071/api/HttpTrigger' -Method Post -Body (@{'name'='POST'} | ConvertTo-Json)
Hello POST
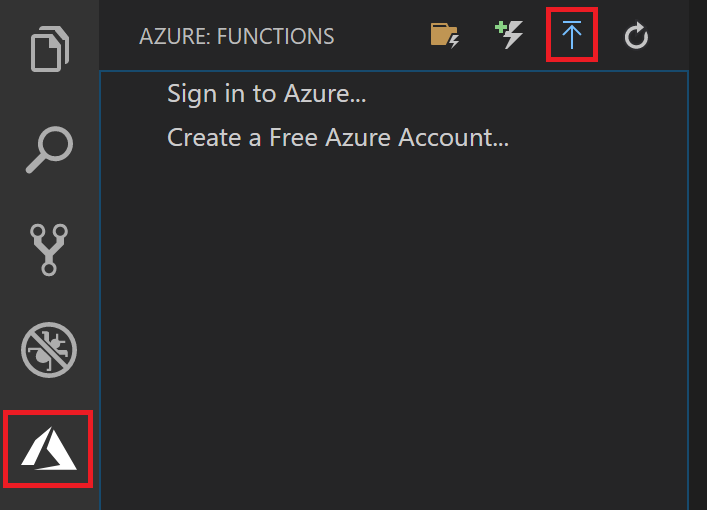
We can upload our function to Azure using another convenient part of the extension, either to an existing Azure Function or by creating a new one.
Remember how we chose to use Function as our authorization level? If we go back to the Azure Functions extension we can now explore our new uploaded function and copy the URL. This will now contain a function key that will look something like aaaaBBBBccccDDDD/aaaabbbbccccDDDDEEEEFFFFGGGGhhhh/aaaa==, this key is our authorization to use this function at all and without it the function will not run. You can also set up your function to work anonymously without the need of a key, if that fits your needs better.
You can also manage keys using PowerShell and other tools through the Key management API, but bear in mind that you will need to manage authentication towards Azure.
We’re off to a good start thanks to the base project, but if we want to use it as our own custom API wrapper web service we’ll need to add an API call somewhere.
Using Azure Key Vault
We could add a line defining an API key in our function script but we all know that passwords, keys and secrets are best stored safely. A good option that we can utilize since we’re in Azure already is the Azure Key Vault. I’m going to assume you know how to create a Key Vault and add secrets to it, and we’ll proceed from there. I created mine in the same region and resource group as my Function App and added my Google API key to it. If you want a few pointers on how to utilize Google’s API from PowerShell (which is all we’re really doing in our function) you can check out my post on generating random lunch restaurants using PowerShell.
By default our function won’t be able to read the secrets from the key vault, so the first thing we need to do is to assign at least read access. If we browse to our app in the Azure Portal we can navigate to Platform Features and then Identity, where we can set the Status to On under the System Assigned tab. This will register our app to our Azure AD and let us assign it rights to other resources such as the key vault.
Browse to the access policies of your key vault and add a new one. Search for your function app and select the permissions you want your function to have, remember the principle of least privilege for best practices!
Now that our function has access to read our secret, let’s get the identifier from the key vault and then connect it to our function. In the key vault, click Secrets, YourSecret, CurrentVersion and copy the Secret Identifier which looks like https://yourkeyvault.vault.azure.net/secrets/YourSecret/aaaabbbbccccddddeeeeffff11112222.
Head back to the function in the portal and enter the Configuration. Under Application Settings you can create your own values that will be added as environment variables to your function. We can connect an application setting to our secret in the vault by entering the our secret identifier as the value, in the form of @Microsoft.KeyVault(SecretUri=YourSecretIdentifier).
To make sure it works we can go back to our function code and edit the body of the output.
if ($name) {
    $status = [HttpStatusCode]::OK
    $body = "Hello $name, the secret is $($env:YourSecret)"
}
If we now deploy the function to our app in Azure and test our function in the same way as previously we should see that the function has access to read our secrets. This means our function script will not need to store anything in plain text, and situations where secrets are compromised are more easily manageable through the rights that we assigned.
PipeHow:\Blog> Invoke-RestMethod 'https://yourfunction.azurewebsites.net/api/HttpTrigger?name=PipeHow&code=aaaaBBBBccccDDDD/aaaabbbbccccDDDDEEEEFFFFGGGGhhhh/aaaa=='
Hello PipeHow, the secret is YourSecretValue
The only thing missing now is an actual API call in the function we’ve created, one that uses the key we retrieved from the key vault. The output of the function would change depending on the results of the request to the third party API. You can trim, extend, format or change data from several sources at once and simply present that as the output, this is the beauty of making your own API wrapper to use from other scripts or applications. I’ll leave this part up to you, there are many API’s out there that can all be of great use, even when not being able to decide where to eat lunch.
If you need a more thorough guide on how to connect the function to a key vault, check out Gustavo Velez’ great post on letting functions access secrets from key vaults in Azure.